Linux终端中好用的工具
前言
本文主要总结Linux终端下好用的工具,Linux下的很多GUI工具说实在有点简陋,还占用RAM。还不如直接在terminal里敲命令。
终端推荐
这里推荐是基于X11的kitty。
作者吹的GPU加速等feature都不算什么卖点, 其实作者有点顽固的,过于强调速度,所以在一些便利性上过于激进。比如默认不开启输入法支持。
使用kitty的主要原因就是它的kitty协议支持在终端中显示图片。
推荐按主页的方法安装最新版本以方便hack:
#Create a symbolic link to add kitty to PATH (assuming ~/.local/bin is in
#your system-wide PATH)
ln -s ~/.local/kitty.app/bin/kitty ~/.local/bin/
#Place the kitty.desktop file somewhere it can be found by the OS
cp ~/.local/kitty.app/share/applications/kitty.desktop ~/.local/share/applications/
#If you want to open text files and images in kitty via your file manager also add the kitty-open.desktop file
cp ~/.local/kitty.app/share/applications/kitty-open.desktop ~/.local/share/applications/
#Update the paths to the kitty and its icon in the kitty.desktop file(s)
sed -i "s|Icon=kitty|Icon=/home/$USER/.local/kitty.app/share/icons/hicolor/256x256/apps/kitty.png|g" ~/.local/share/applications/kitty*.desktop
sed -i "s|Exec=kitty|Exec=/home/$USER/.local/kitty.app/bin/kitty|g" ~/.local/share/applications/kitty*.desktop
安装完后kitty是没有输入法支持的,需要以下的修改: 编辑 ~/.local/share/applications/kitty.desktop在Exec那行加入输入法支持(env GLFW_IM_MODULE=ibus)。
编辑后的内容如下:
[Desktop Entry]
Version=1.0
Type=Application
Name=kitty
GenericName=Terminal emulator
Comment=Fast, feature-rich, GPU based terminal
TryExec=/location/of/kitty
Exec=env GLFW_IM_MODULE=ibus /location/of/kitty
Icon=/location/of/kitty/icon
Categories=System;TerminalEmulator;
如果觉得图标丑的话还可以改造一下Icon那行。比如用这个kitty-icon。
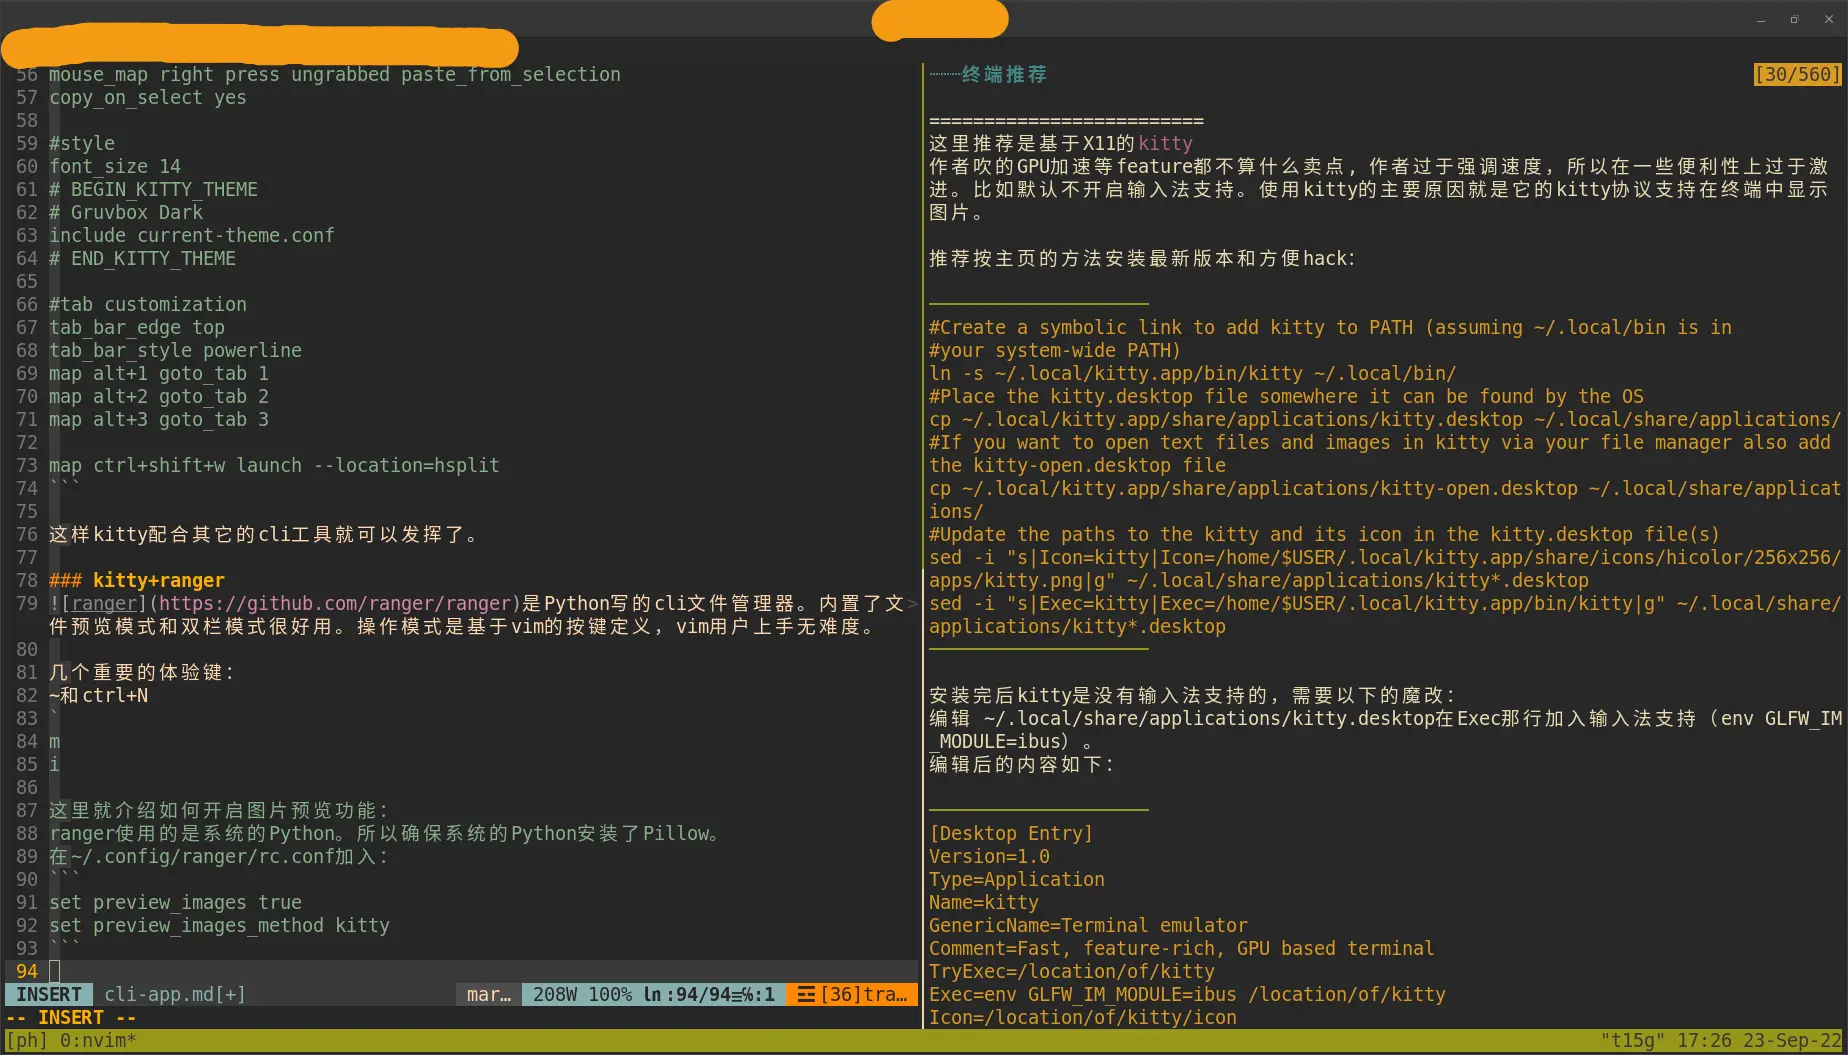
kitty的配置文件可以放在~/.config/kitty/kitty.conf
#key map
map ctrl+v paste_from_clipboard
mouse_map right press ungrabbed paste_from_selection
copy_on_select yes

#style
font_size 14
# BEGIN_KITTY_THEME
# Gruvbox Dark
include current-theme.conf
# END_KITTY_THEME

#tab customization
tab_bar_edge top
tab_bar_style powerline
map alt+1 goto_tab 1
map alt+2 goto_tab 2
map alt+3 goto_tab 3

map ctrl+shift+w launch --location=hsplit
这样kitty配合其它的cli工具就可以发挥了。
kitty+ranger
ranger是Python写的cli文件管理器。内置了文件预览模式和双栏模式很好用。操作模式是基于vim的按键定义,vim用户上手无难度。
几个重要的体验键:
~和ctrl+N
`
m
r
i
ranger默认的配色对于mark的items容易混淆。个人喜欢将选中的配色方案进行微调。
首先将配色方案复制到个人文件夹中。
copy /usr/lib/python3/dist-packages/ranger/colorschemes ~/.config/ranger/config
copy ~/.config/ranger/config/colorschemes/default.py ~/.config/ranger/config/colorschemes/favorate.py
编辑favorate.py,找到
if context.main_column:
    if context.selected:
    attr |= bold
    if context.marked:
         attr |= bold
         fg = yellow
加入bg = red
找到
if context.media:
    if context.image:
    fg = yellow
将fg = yellow改为fg = magenta
找到
if context.inactive_pane:
    fg = cyan
加入bg = magenta
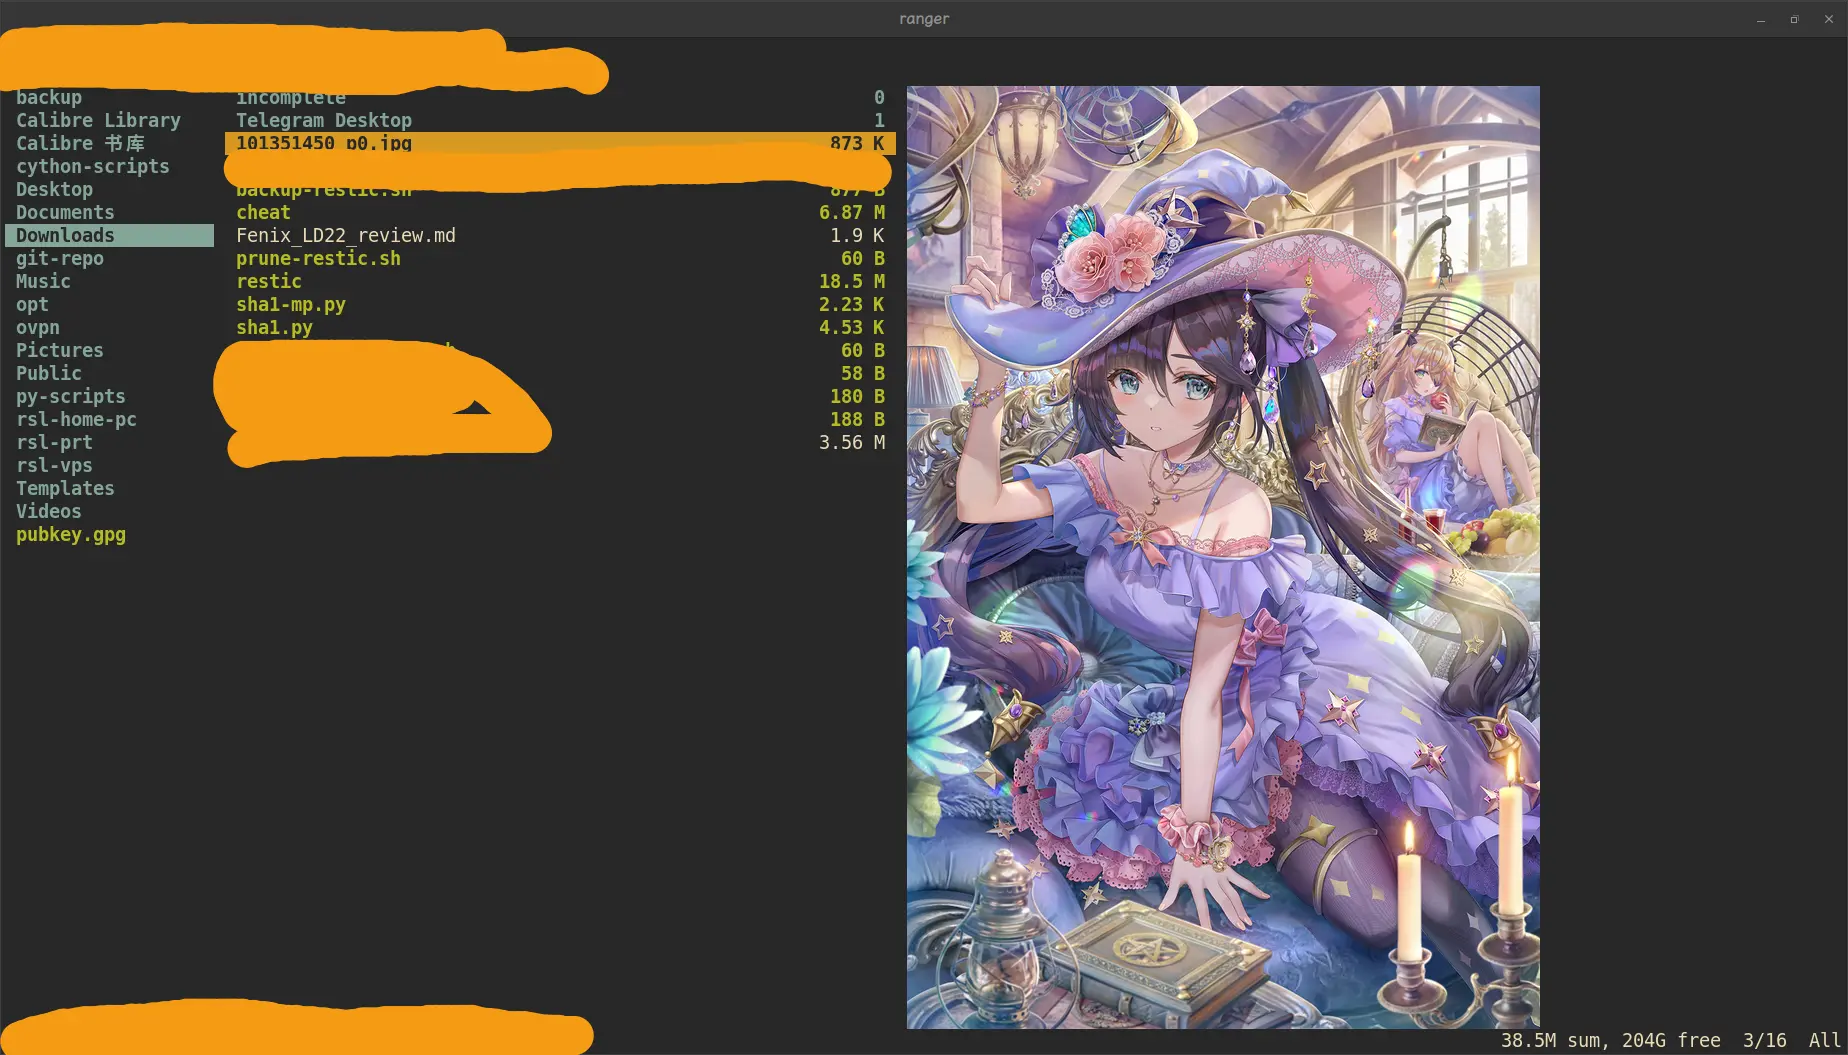
这里就介绍如何开启图片预览功能:
ranger使用的是系统的Python。所以确保系统的Python安装了Pillow。
在~/.config/ranger/rc.conf加入:
set preview_images true
set preview_images_method kitty
效果图如下:

要访问network filesystem的千万用cifs挂载,不要用gvfs,多封装了一层。
虽然任何一个Python帖子都有人跳出来喷Python速度,但访问NAS慢真不是Python的锅。
kitty+mdcat
mdcat是在终端下显示Markdown文件的tool。
因为kitty支持图片显示,所以mdcat也可以显示图文Markdown。
效果如下:

kitty+termpdf.py
这个在kitty里显示pdf,实用度不高
kitty+ssh+tpix
这个在远程终端特别有用,一般来说vps都是headless,虽然也可以装X11用ssh来看图片,但是很慢,效率低。
用nginx代理在客户端用浏览器也可以。但最方便的是在远程机器装tpix,在kitty中ssh登录后就可以用tpix pic.png浏览图片了。
这是因为只要传入的字符串是符合kitty的图片协议,kitty就会显示,它不关心传入的字符串是从local还是remote来的。
另类用法,把漫画解压到一个文件夹,输入
tpix -f *
就是一个简易的漫画阅读软件了。
tpix不是支持所有的图片格式,这时候就需要imagemagick了。
convert 1.webp jpg:- | tpix
不需要kitty也正常使用的cli工具
croc是使用公共relay的端到端加密文件传输工具,适合非敏感文件的一次性传输。
备份类:restic,rclone,resilio,rsync
下载:aria2c,wget,curl
测速:sperf3
多媒体:sox,mpv
播放 play *.flac
转码 sox 1.au 2.wav
压缩:7z
笔记:cheat,可以当简易的笔记软件。
encode: ffmpeg
电源管理:powertop
mount: udisksctl, cifs
硬件:smartctl
计算:qalc, octave
远程:tmux
编程:Python
正则表达式生成器:grex
文档转换:pandoc
监测:bottom